Snow rarely damages a roof in one dramatic moment. It sits, melts, refreezes and works water under shingles and flashing until a stain shows up on a ceiling. Braintree sees both heavy snow and heavy rain, so a roof meets water in two forms across the year.
Key takeaways
- A Braintree season brings about 61.1 inches of snow, and winter 2014 to 2015 reached 150.8 inches.
- Ice dams and failed flashing push meltwater under shingles, where it wets attic insulation before a ceiling stain appears.
- Fall is the time to check shingles, flashing, gutters and attic insulation, before the first heavy snow.
- A wet ceiling is opened and dried before it sags, because trapped water spreads and stains.
- Photos, readings and dates help the insurance claim, and roof wear is often treated differently from sudden damage.
Why snow is a roof problem here
Nor'easters bring heavy snow and rain, and a Braintree season averages about 61.1 inches of snow. The winter of 2014 to 2015 reached 150.8 inches.
Summer thunderstorms with heavy downpours test the same roofs from the other direction. A roof that is a little tired can hold through a mild year and then leak in the first big storm.
Freeze and thaw cycles make it harder. Each warm afternoon sends meltwater down the roof, each cold night stops it, and the repeating swings widen small gaps in flashing, sealant and shingle edges.
How an ice dam leak travels
From the eave to the attic
Heat escaping from the living space warms the roof, and snow melts from the top down. The meltwater runs to the cold edge of the roof, refreezes and builds a ridge of ice along the eave.
That ridge is the dam. Water that cannot get past it backs up under the shingles and finds its way through nail holes, seams and flashing.
- Heat loss: warm air leaking into the attic melts the snow above.
- Thin or uneven insulation: some spots melt before others.
- Blocked vents: trapped warm air raises the roof temperature.
- Clogged gutters: meltwater has nowhere to go and freezes in place.
- Deep snow: more snow means more meltwater behind the ice.
From the attic to the ceiling
Attic insulation soaks up the first of the water and holds it against the drywall below. The ceiling often stays looking normal until the insulation is saturated.
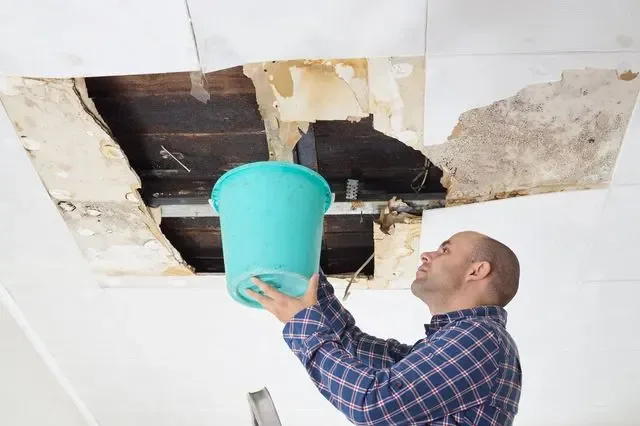
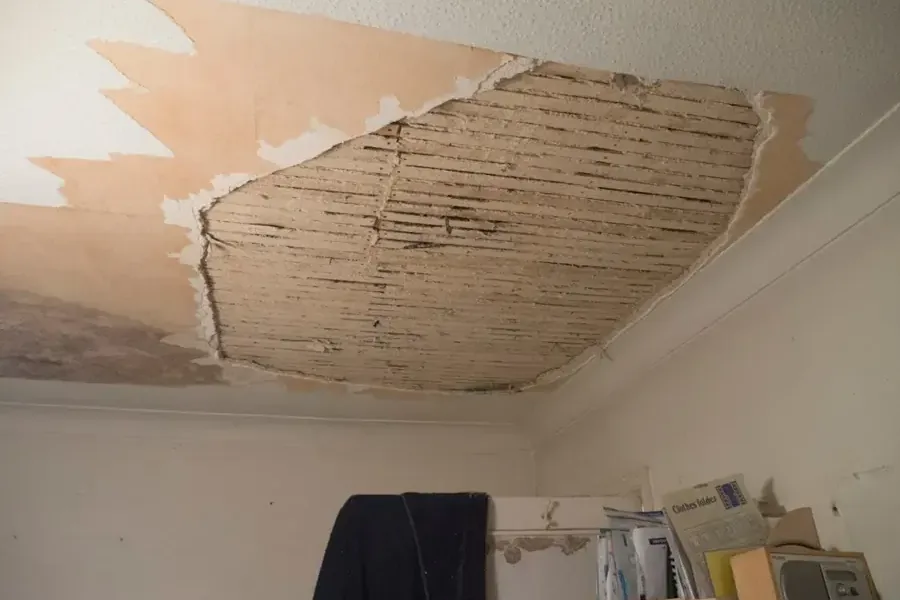
Then a stain appears, paint blisters, or the drywall begins to sag. By the time water drips from a light fixture, the framing above has been wet for a while.
What to check this fall
A short inspection in October is cheaper than a ceiling repair in February. Most checks can be done from the ground, the attic hatch and the gutters.
A roofer is the person to climb up, and the household can note what to point out.
- Shingles: look for lifted, cracked or missing pieces.
- Flashing: check around chimneys, vents and skylights for gaps or rust.
- Gutters and downspouts: clear leaves so meltwater can leave the roof.
- Attic insulation: look for flat, dark or damp spots.
- Attic vents: make sure insulation is not blocking airflow at the eaves.
Signs a roof leak has already started
Many roof leaks announce themselves long before a ceiling drips. The early signs are easy to miss if nobody looks up.
A single brown ring is often the first clue, and it can dry out and fade between storms while the leak keeps going.
- Stain rings: tan or brown marks that expand after a thaw or heavy rain.
- Paint changes: bubbling, peeling or a soft spot on the ceiling.
- Attic clues: damp insulation, dark wood or a musty smell near the roof deck.
- Sound and drips: dripping at a light fixture or along a wall during a storm.
- Daylight: bright spots around a vent or chimney seen from inside the attic.
Roof leak or something else
Not every ceiling stain comes from the roof. A few quick questions point toward the real source before anyone starts cutting drywall.
A stain that grows after a thaw or a rain usually points to the roof. One that grows after showers or laundry points to plumbing.
- Roof: staining that follows snow melt or rain, often near an exterior wall.
- Plumbing: staining under a bathroom or kitchen that grows with use.
- Condensation: frost on attic nails or damp insulation on cold mornings.
- Heating and cooling: drips near a duct or an air handler.
The cleanup: attic, insulation and ceiling
Once the leak is stopped, the water already inside has to come out. Roof leak water damage work starts in the attic, where wet insulation is removed and the framing is checked with a moisture meter.
Below, the ceiling is opened where water is trapped, so the cavity can dry before the drywall sags or stains the room. The steps are described under ceiling leak water damage.
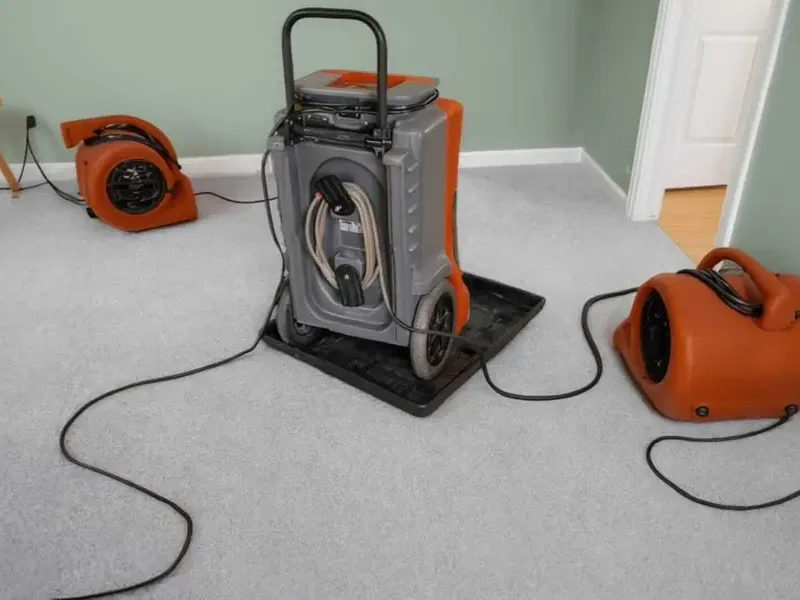
Air movers and dehumidifiers run until meters show normal readings. Closing a ceiling too early traps moisture and invites a second round of damage.
Speed helps. Wet insulation can stay damp for a long time when left alone, and a ceiling that keeps absorbing water gets harder to save each day.
- Wet insulation removed and bagged.
- Framing and roof deck checked with a moisture meter.
- Ceiling opened where water is trapped.
- Drying equipment placed in the attic and the room below.
Roof repair, frozen pipes and the insurance file
A roofer repairs the roof, and the drying team handles the water. Both are needed, and the order matters: a leak that keeps feeding water undoes the drying.
The same cold snap that builds ice dams can freeze pipes in outside walls and garages, which is covered under frozen pipe cleanup.
For the insurance file, photos of the stain and the attic, dates of storms and the drying readings make the claim clearer. Wear and age are often treated differently from sudden damage, so the policy wording is worth reading before filing.
A short written list helps the roofer: where stains appeared, when they grew and what the weather was doing. That detail points to the failed spot faster than a general walk around the roof.